03 Oct
- 0 Comment(s)
- /
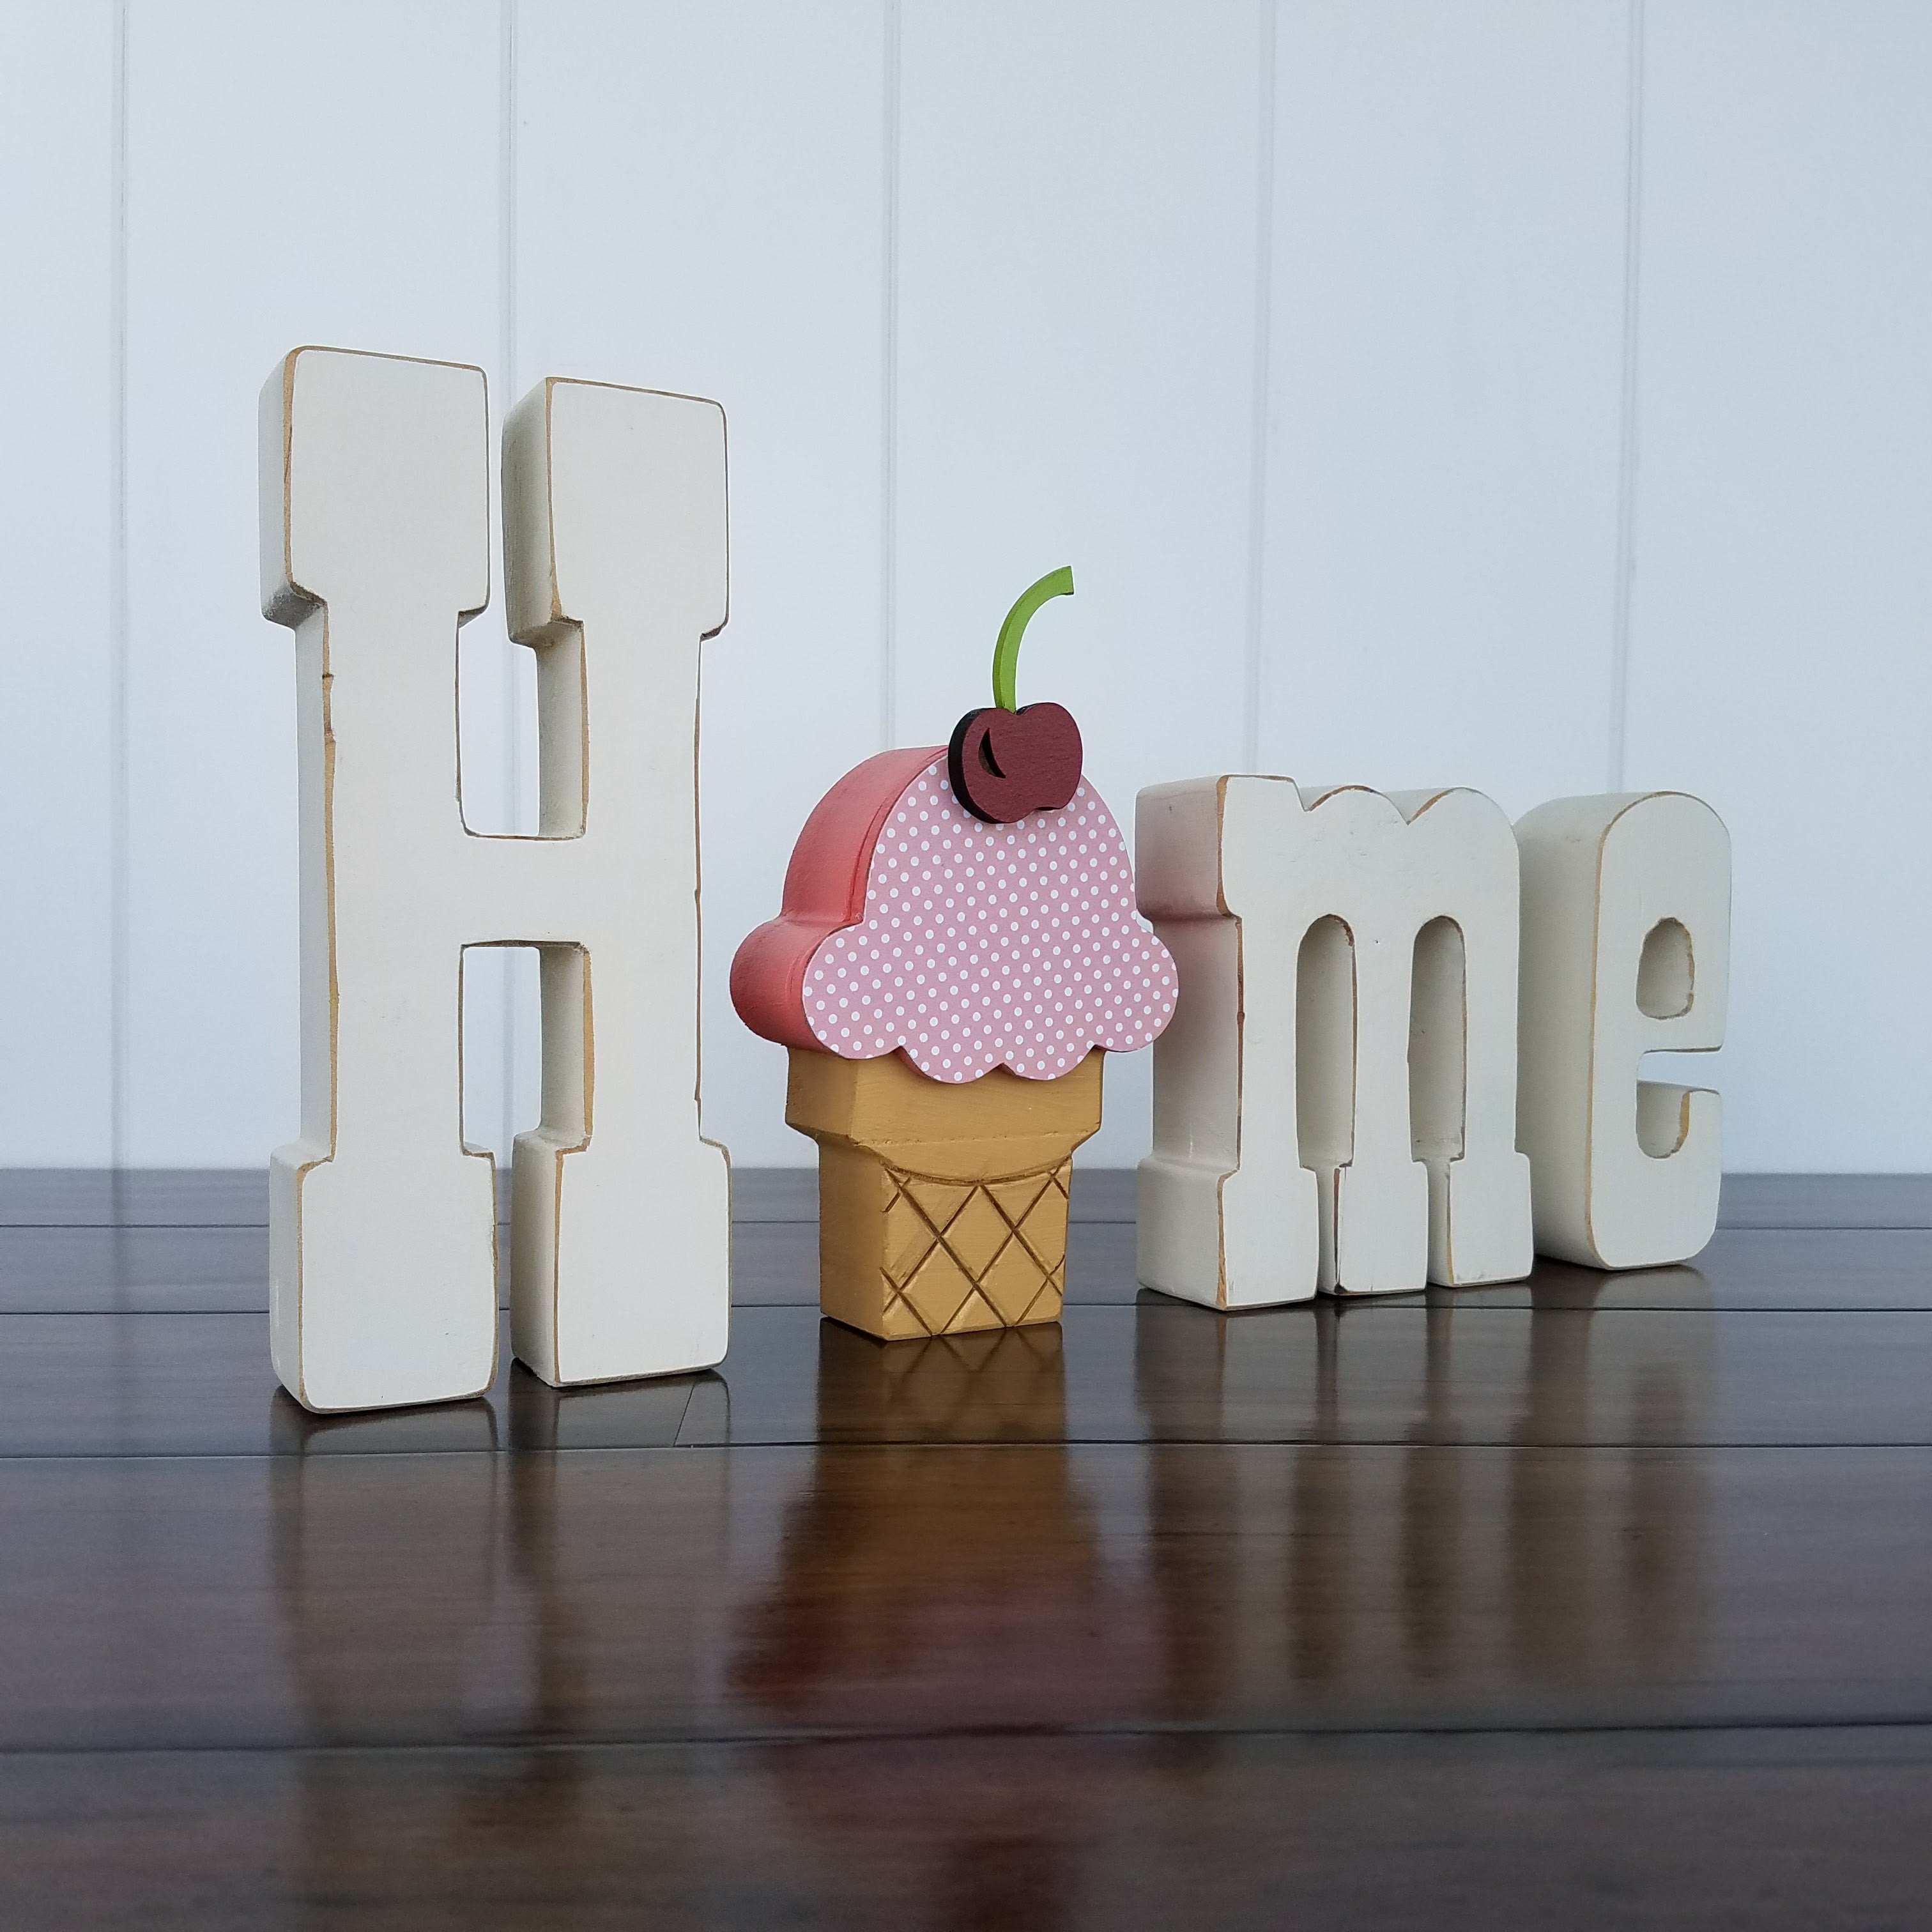
Congratulations! You’re going to love creating a home décor piece that is simple and awesome! This brief reference will show you the summary of steps to make this kit like how we planned it. However, our theme at Foundations Décor is to Build Your Style. So, we also encourage you to personalize this kit any way you’d like. You’re welcome to substitute papers, paints, whatever you’d like. All our instructions are general suggestions and you can change up if you’d like.
If you’d like, layout your pieces and admire how much fun you’ll have.

First, it would also be a good idea to get all your tools ready. These tools are specifically made for wood crafting and sold by Foundations Décor.
- Foam brush
- Small paper file
- Large paper file
- Precision needle files

Other items that you’ll likely be using include:
- Some type of glue. Most any white or clear glue will work well.
- Paint or ink. This can be ink pads or acrylic paint.
- A pencil
- Scissors

Pro Tip # 1:
Start by putting an X on the front side of all items that you will be covering with paper. Do this to all the pieces.

Next trace your pieces.
Pro Tip # 2
Trace all your pieces first. Then, paint the pieces that you plan to paint. (If you trace them now, and paint / ink next, the paint/ink can dry while you are cutting your paper pieces.
Place the side with the “X” on the BACK SIDE OF THE PAPER you’ll be cutting. Remember, you’ll end up gluing the back side to the side with the “X”.
Notice that we have include the pieces that we later only painted in the pictures, but didn’t trace them. That’s just for clarity in the photos.
Remember to lay the front side of the wood shape against the back side of the paper you are going to use when you trace each piece.


Now, ink or paint your pieces.
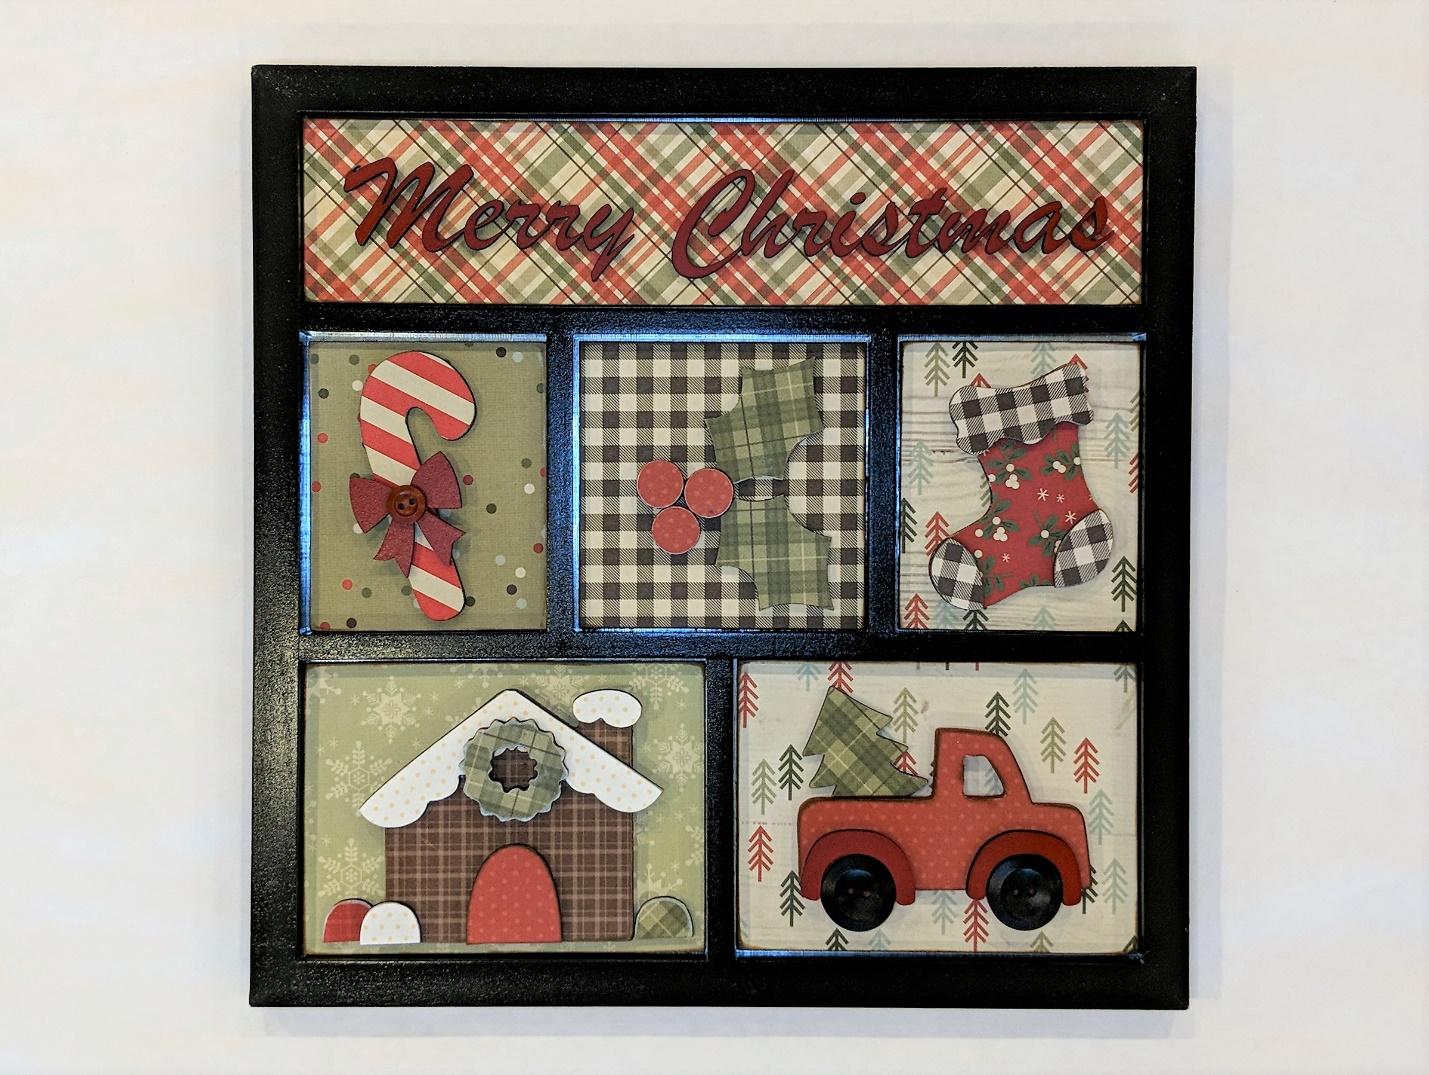
On the thick pieces, you’ll want to paint or ink the sides. Just gives the kit a nice professional finished look. In this Christmas kit, that would be the Truck and Berries

Pro Tip # 4
You can trace and cut the backboard pieces exact, but we just cut them with some overlap. Then, we just glue them on and cut the edges of the paper off after the glue is dry using the paper files.

Pro Tip # 5.
Don’t worry about cutting the paper exact. You can use a file to shave off the paper for a perfect fit every time.
Once the glue has dried, shave the paper (You’ll actually see it cut the paper). Use firm pressure and long strokes.
Use the large paper file when possible for the quickest filing.
On medium size sides, use the small paper file.
On very small sides, use the precision needle files.


Pro Tip # 6. If you want, after you have painted pieces and glued the paper on, you can do a rough layout to be sure you like the look of everything.
If desired, ink any paper edges you want to ink. Include the square pieces and any shaped pieces.
Next, glue your pieces in place on the background boards.
Pro Tip # 7
Put a thin film of glue on the backs of pieces that you are gluing in place. Check to see if the glue dries clear (most white or clear glue dries clear). Then, do your best to keep the piece clean, but don’t worry too much if there are some sides or corners with a little extra glue if it dries clear.
Finally, peel the backs off the magnets and affix them to the back of the background pieces to put them into the magnetic shadow box.

There are seven magnets in the kit. They are meant to be affixed to the back of the background pieces similar to this pattern.

Congratulations! You are done! Be sure to show off your amazing decoration piece. Here they are in either frame so you can see the difference.


Recent Articles
Tiered Tray Decorating Tips for Holidays and Everyday
- 0 Comment(s)
- /
Seasonal Splendor: DIY Magnetic Calendar Craft Ideas
- 0 Comment(s)
- /
Elevate Your Home Decor: Creative Ways to Style Trays and Stands
- 0 Comment(s)
- /
Tags